Collar.js
Version 1.0
Keywords: Functional Programming, Reactive Programming, Flow-based programming, Immutable, Data flow, Architecture, Traceable
What is collar.js ?
Collar.js is a reactive (functional) programming library to help you organise your software's architecture, data flow, and business logic. It helps you turn your thoughts into code, and visualize your thoughts (with different DevOps tools) in order to help you make high quality software.
Collar.js is
- message driven
- reactive
- functional
- flow-based
- asynchronous
- traceable & visualizable
- frontend & backend available
The problem collar.js trying to solve
Software becomes larger and larger. I can still remember the game stored in 3.5 inch disk on year 90's. Things change rapidely, and now a web-hosted game can no longer be stored in that storage. Not to mention the industry level software/solution, which takes multiple GB on disk. To understand such a giant system is not a easy job, even the most experience software engineer get lost sometimes.
Here is some situations I have met in my career life, you can ask these questions to yourself too:
- When you join a new team, have you ever struggled to understand how the system works?
- Think about the code / module you made 6 months ago, could you remember what and how you did in that module?
- Have you ever lost in diagnosing a problem, and don't know what happened in your system?
If you have met the similar problem, collar.js is the right library for you.
Check the Examples section on the left to understand how collar.js can solve these problems.
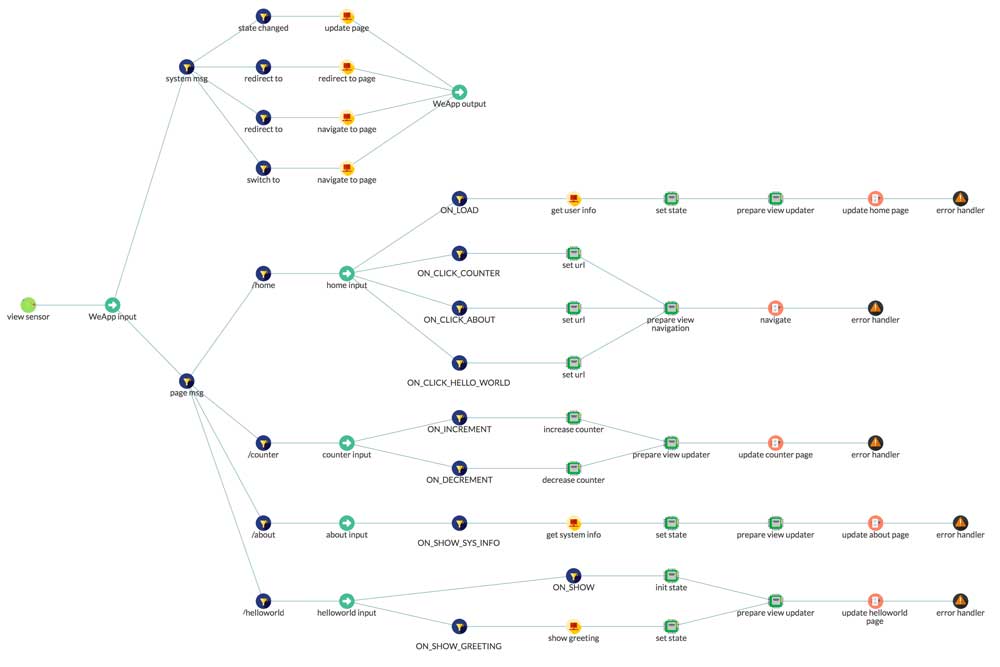
Software as a Graph
Think your software as a set of data processing pipeline. Data could come from user input, data source, etc. Collar.js use node to represent a data processing unit. It accepts data, process it (or do something according to it), and output data. nodes are connected one after another, data is processed by them and passed among them. In collar.js data is wrapped in a data structure called Signal. These nodes and connections among them form a graph.
Message (Signal) driven
Collar.js is a message driven library. Data flows in your system as Signal. Signal is an immutable object, you can set its payload with set method, get the payload with get method, and get the whole payload by accessing payload property.
// create a brand new signal (with payload and new id)
const signal1 = new collar.Signal({value: 100});
console.log(signal1.get('value')) // --> 100

// create a signal from an existing signal, and keep the id
signal3 = signal1.new({value: 200});
console.log(signal3.payload); // --> {value: 200};
console.log(signal3.id === signal1.id) // --> true

const signal2 = signal1.set('a.b', 100);
console.log(signal1.id == signal2.id) // --> true
console.log(signal1.payload)   // --> immutable, still be {value: 100}
console.log(signal1.get('a'))  // --> null
console.log(signal1.get('a.b'))  // --> null
console.log(signal2.payload)   // --> {value: 100, a : { b: 100}}
console.log(signal2.get('a'))  // --> {b : 100}
console.log(signal2.get('a.b'))  // --> 100
Basic element: node
In collar.js, the basic signal processing unit is node. Each node has a unique input to receive signal, and a unique output to emit signal. You can use push(signal) method to push a signal to a node's input (for processing), and use send(signal) method to emit a signal from a node.

More details see the the github library: https://github.com/bhou/bouton.js
Node is organized by namespace
Each node belongs to a unique namespace, you can only create a node from a namespace. Use collar.ns() method to create one:
const ns = collar.ns('com.yournamespace.anything')
You can specify several metadata to the namespace too:
const nsWithMetadata = collar.ns('com.yournamespace.anything', {
  author: 'your name',
  company: 'your company',
  module: 'the module name'
})
Metadata gives your software different dimensions, you can use collar dev tool to visualize your software from these dimensions. For example, you can see how different authors contribute to the code, and how they depend on each other.
Create nodes
Namespace provide several node constructors to help you build your node. Here is the basic signature of the constructors:
constructor(comment: string, inputs: object, outputs: object, handler: function)
The first argument is an optional comment string to help you understand what your node does.
The second and third argument are optional map objects, describing the input signal and output signal of your node. Example: {type: 'indicate the msg type', name: 'the user name'}
The fourth argument is the signal handler to process the incoming signal. Handler always accepts a signal as the first argument, and returns a signal (for synchronous node): handler(signal, ...args): signal
There are 4 types of basic elements:
sensor
Sensor does not accept signal from its input, it listens to the external world and convert external event into your domain signal, and emit it via its output.
const sensor = ns.sensor('jquery ui sensor', function() {
  $('#button').click(() => {  // listen to external world (UI event)
    this.send({actionType: 'button clicked'}) // send your domain signal
  })
})
You can call send(msg) method to send a signal from the sensor.
filter
Filter controls the signal flow. If filter signal handler returns true, the signal pass to next connected node, otherwise blocked propagation. Use filter or when to construct a filter.
const filter = ns.filter('only allow even value pass', s => {
  return s.get('value') % 2 === 0
})
map() is the alias of filter()
actuator
Actuator is a node, who makes side effect, and it can interact with external world. For example, write to a log file or database. Actuator does not change the signal, it keep the incoming signal unchanged and emit it. The return value of actuator is set to a special field in signal to pass to next node. You can call signal.getResult() to get it. Use do(signal) to create an actuator or actuator to create an asynchronous one.
const actuator = ns.do('log the signal', s => {
  console.log(signal.payload);
})
// async
const asyncActuator = ns.actuator('query get product by id from database', (s, done) => {
  let id = s.get('id');
  query(id, (err, product) => {
    done(err, product);
  });
})
processor
Processor is a pure function, it does not make side effects. It processes based on the incoming signal, and emit a new signal. Use map(signal) to create a processor or processor(signal, done) for asynchronous one.
const processor = ns.map('double the input value', s => {
  return s.new({    // use signal.new to create a new signal
    value: s.get('value') * 2
  });
})

// async
const asyncProcessor = ns.actuator('async processor', (s, done) => {
  let value = s.get('value');
  async(value, (err, result) => {
    done(err, s.new({
      result: result
    }));
  });
})
Connect nodes together
Direct connection
You can connect nodes together with to method. It connects the node A's output to the node B's input. Every signal emitted by node A will be received by the node B. to method returns the connected node B, so that you can chain multiple nodes all together.
nodeA.to(comment: string, nodeB: Node)
const filter = ns.when('only allow even value pass', s => {
  return s.get('value') % 2 === 0
});

const double = ns.map('double the input value', s => {
  return s.new({    // use signal.new to create a new signal
    value: s.get('value') * 2
  });
});

filter.to(double).to(anotherNode);
Delegation
Another way to connect nodes is through method:
nodeA.through(comment: string, inputNode: Node, outputNode: Node, asActuator: boolean)
Different from to method, through accepts two nodes as arguments: one input node, and one output node. It returns a delegator node so that you can chain other nodes. through delegates the signal processing to another pipeline. You can build a signal processing pipeline somewhere else with an input node, and an output node. And later, you can integrate it to another pipeline.
const filter = ns.when('only allow even value pass', s => {
  return s.get('value') % 2 === 0
});

const double = ns.map('double the input value', s => {
  return s.new({    // use signal.new to create a new signal
    value: s.get('value') * 2
  });
});

filter
  .through(double, double) // input and output could be the same node
  .to(anotherNode);
Run collar-dev-server, open http://localhost:7500, and rerun the following codepen to understand how "to" and "through" works
See the Pen collar.js - build pipeline by Bo HOU (@bhou) on CodePen.
Extend collar.js with addons
Collar.js uses addon to extend the functionality. Each addon could have 2 extension points:
- operators: a set of operators
- observers: a set of observers
An addon is simply a javascript object with the following form:
myaddon.js
module.exports = {
  operators: {
    // operator set
  },
  observers: {
    // observer set
  }
}
And use it in your code with use() method:
const collar = requir('collar.js');
collar.use(require('./myaddon'));
More detail, see section Addon
Install collar.js and collar.js-dev-client
You can install collar.js with npm
npm install collar.js --save
npm install collar.js-dev-client --save-dev
or directly use the prebuild one in your html
<script src="js/collar.js"></script>
<!-- include collar.js-dev-client for dev only -->
<script src="js/collar.js-dev-client"></script>
Enable collar dev Environment
Install and start collar dev server
sudo npm install collar-dev-server -g
collar-dev-server
Include collar dev client at the very beginning of your code
import collar from 'collar.js';
import DevToolAddon from 'collar.js-dev-client';
collar.use(new DevToolAddon());